Wednesday, June 19, 2013

Tutorial: Chalkboard Table

I have the ugliest table in the history of forever. That sounds unlikely, but it's true. I have hated my kitchen table for years, so much so that we have ceased eating at it in the last two years. I just can't stand looking at it. To be fair, it is insanely old and at one time was probably a very nice piece of furniture...it's just that the years haven't been kind to it. Hot pans of gingerbread, nail polish, markers - you name it, the table has been subjected to it. So after owning it for eight years, and it being a hand-me-down when I got a hold of it, here's what it looked like:

Chipped, scuffed, dirty and out of date. I finally couldn't take it anymore, and made arrangements to buy a new one from a local home builder showroom - white, clean lines, gorgeous, with matching chairs - I was so excited! And then, as things do, it fell through. The home builders decided to put my new table in a model home, thus rendering it unavailable for purchase. Because I didn't have a trillion dollars to buy a nice, new table (seriously, have you seen what dining sets go for these days?), I decided to take matters into my own hands and refinish the one I had.

First things first: getting rid of the nastiness. There was who knows what caked on the table and into the decorative routed edge. I gouged it out with a plastic knife and some sandpaper, and then took my brand new orbital sander to the tabletop, making short work of layer upon layer of yellowed lacquer. I cannot tell you how impressed I am with my sander. Paired with some quality sandpaper, I can now take over the world! Well, I can take over poorly finished furniture, so look forward to more of that in the coming months.
Ta Da! Remember, always wear a mask when sanding old furniture. The amount of dust kicked up during this project was incredible - there were layers upon layers of lacquer or varnish on this table, and while my sander ate through them like a hot knife through butter, inhaling all of those particles could be really bad for your health. Don't say I didn't warn you.


Now, I really hate painting wood furniture. I truly believe that wood grain is beautiful, and you should always seek to preserve it by using stains and sealers instead of paint. However, I'm more than willing to sacrifice my morals for this table, because I just couldn't save the top. It was a veneer that had just been pushed past its own limits, and I really didn't think it would take the stain all that well. So painting was my only real option. But if you're going to ruin a piece of wood furniture by painting it, let's at least be creative. Thus, I could be found Sunday night in the paint aisle poring over chalkboard paint options.

For those who don't know, chalk board paint is a black matte infused with small particles that allow chalk to abrade onto the surface, thus turning virtually any item painted with this special mixture into a chalk board. Super cool! And it comes in pretty much any color of the rainbow and a wide variety of brands. It is available at your local blue store, orange store, and even the big box store on the corner for about $10/qt. Not bad, in my opinion.

So the first step, as always, was to prime. I used a spray on primer in gray, because I chose black chalk board paint for my table.
I am not a particularly good spray painter. I could never be a graffiti artist or anything, because I can't get the stupid paint to spray evenly to save my soul. Thus the spotty, streaky paint job on the top of this table. Good thing four coats of black paint are going on top! You'll notice that I left the legs and apron as they were - my mom thinks this wasn't very creative of me; I think the two-tone look is cool. Plus, the chairs were actually in pretty good condition and I didn't want to have to sand them down and paint them, too. This way, everything matches and goes together and I didn't have to hand sand four ornate wooden chairs. Everybody wins.

Now to paint! I moved the table inside for this step to prevent leaves and bugs from falling onto my fresh paint job and ruining it. I used a small tray and a foam roller to apply the paint, working in thin layers. I applied one, let it dry 3-4 hours and then applied the next, let that dry over night and then applied two more layers the next day. By late Sunday night, my table looked like this:

SO MUCH BETTER! You'll notice I pulled the leaves apart and painted down into the cracks a bit, so that they wouldn't stick together and the paint would fully cover anything that showed. Oh, and don't forget to put down a tarp - I did have a few drips doing the edges and this paint dries really fast. Doesn't it look great? Here's the hard part, though: don't draw on it for three days.

So finally, your paint is dry and it's time to test it out. It has cured the three days (well, two...I just couldn't wait any longer!) and you have bought chalk - NOT DUST FREE, it'll scratch your paint job - and you are ready to get artsy!

But first, you have to cover the whole surface in chalk to prime it. This is way more fun than it sounds. Or less. Depending on how much fun you think it sounds, I guess.

It took about a piece and a half of chalk to cover this table, and I really do wish I had waited the last day, because I think I caused a tiny chip by doing it early. My kids were insanely jealous of me getting to draw on the table first. The worst part of this step is wiping all the chalk off when you're done. Don't use a chalkboard eraser - first of all, they're not intended for this kind of paint. Second of all, they would just get chalk dust EVERYWHERE. Instead, fill a squirt bottle with water and a few drops of dish soap and spray your table down, then wipe it off with a paper towel. Presto!

We have been having SO MUCH FUN drawing on this table - the possibilities are endless! Throwing a party? Label the food on the table so people know what's what. Draw pumpkins for Halloween, eggs for Easter. Leave notes for each other, designate seats, keep score on game night, or if you're super nerdy like us, draw your games right onto the table!
This is probably one of my favorite projects so far - it's useful and fun and unique. I don't know anyone else who has a chalk board dining table! Plus, the entire project cost me less than $20. A brand new table for that? Couldn't be happier!


Tuesday, May 15, 2012

Safety First

If there's one thing that having a dad in the medical field has taught me, it's that safety is the most important thing. Bike helmets, volleyball knee pads, soccer shin guards and rollerblading wrist braces were all standard in my house growing up. Mom and Dad didn't care how stupid you looked, as long as you were safe.

It is something that has really stuck with me as I've grown up, and even in my teens I always wore a seat belt, looked both ways before crossing the street and pointed my scissors towards the floor when I carried them. To this day, I tuck my fingers in when I'm using a knife, light the grill with the lid up and wear gloves when I'm using household cleaners. I just figure 'better safe than sorry and sitting in the ER waiting room.'

So here are a few of my crafting and DIY safety tips. Please, always use your common sense and if you're not sure, ask someone who knows or for heaven's sake, just Google it.


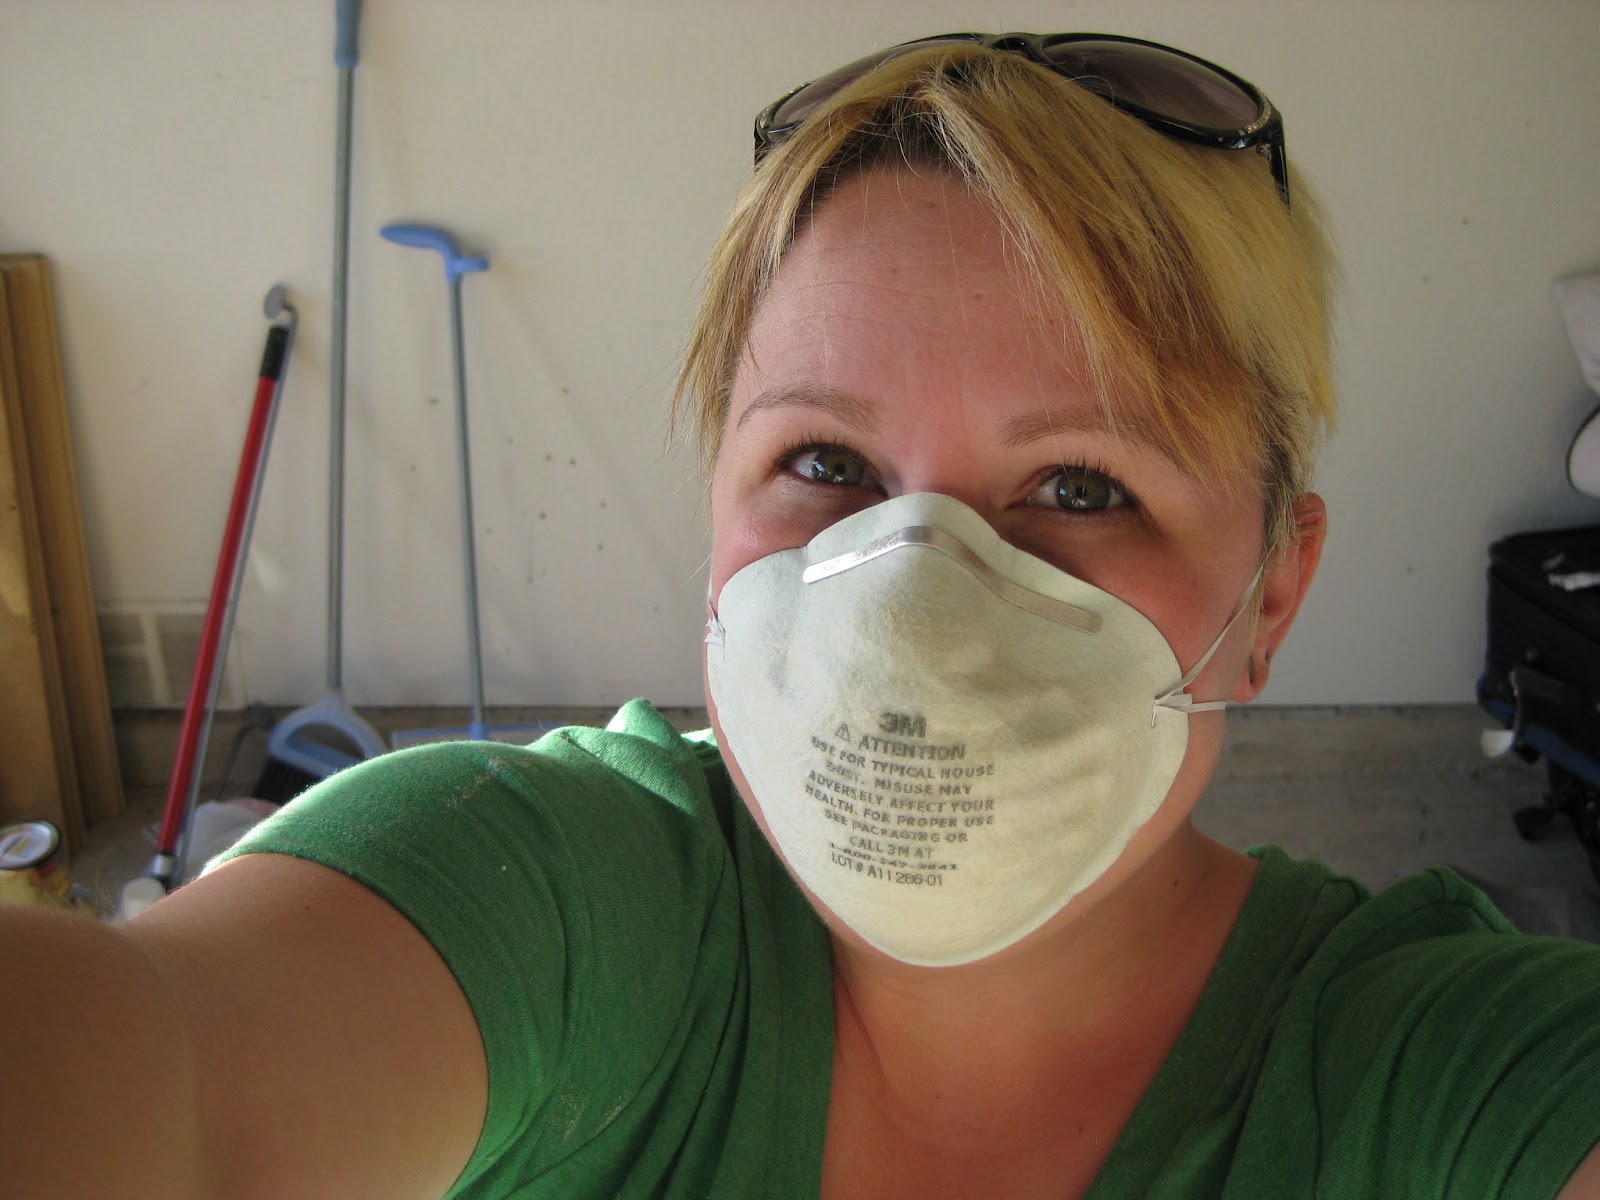
 When sanding, always wear a mask. Especially if you're sanding something with paint on it, and ESPECIALLY if the paint job is older than a few years. You don't want to inhale lead dust, I promise. Masks are also a good idea when you're using power tools on MDF and particle board, cutting or breaking glass, painting, staining, applying poly acrylic or urethane, and using solvents. I keep a stash in my tool bucket, and they are pretty much infinitely reusable, at least until they fall apart or get so clogged that you can no longer breathe.
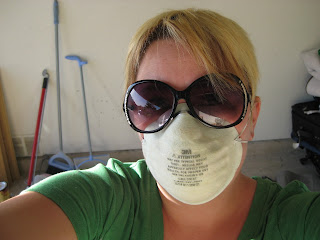
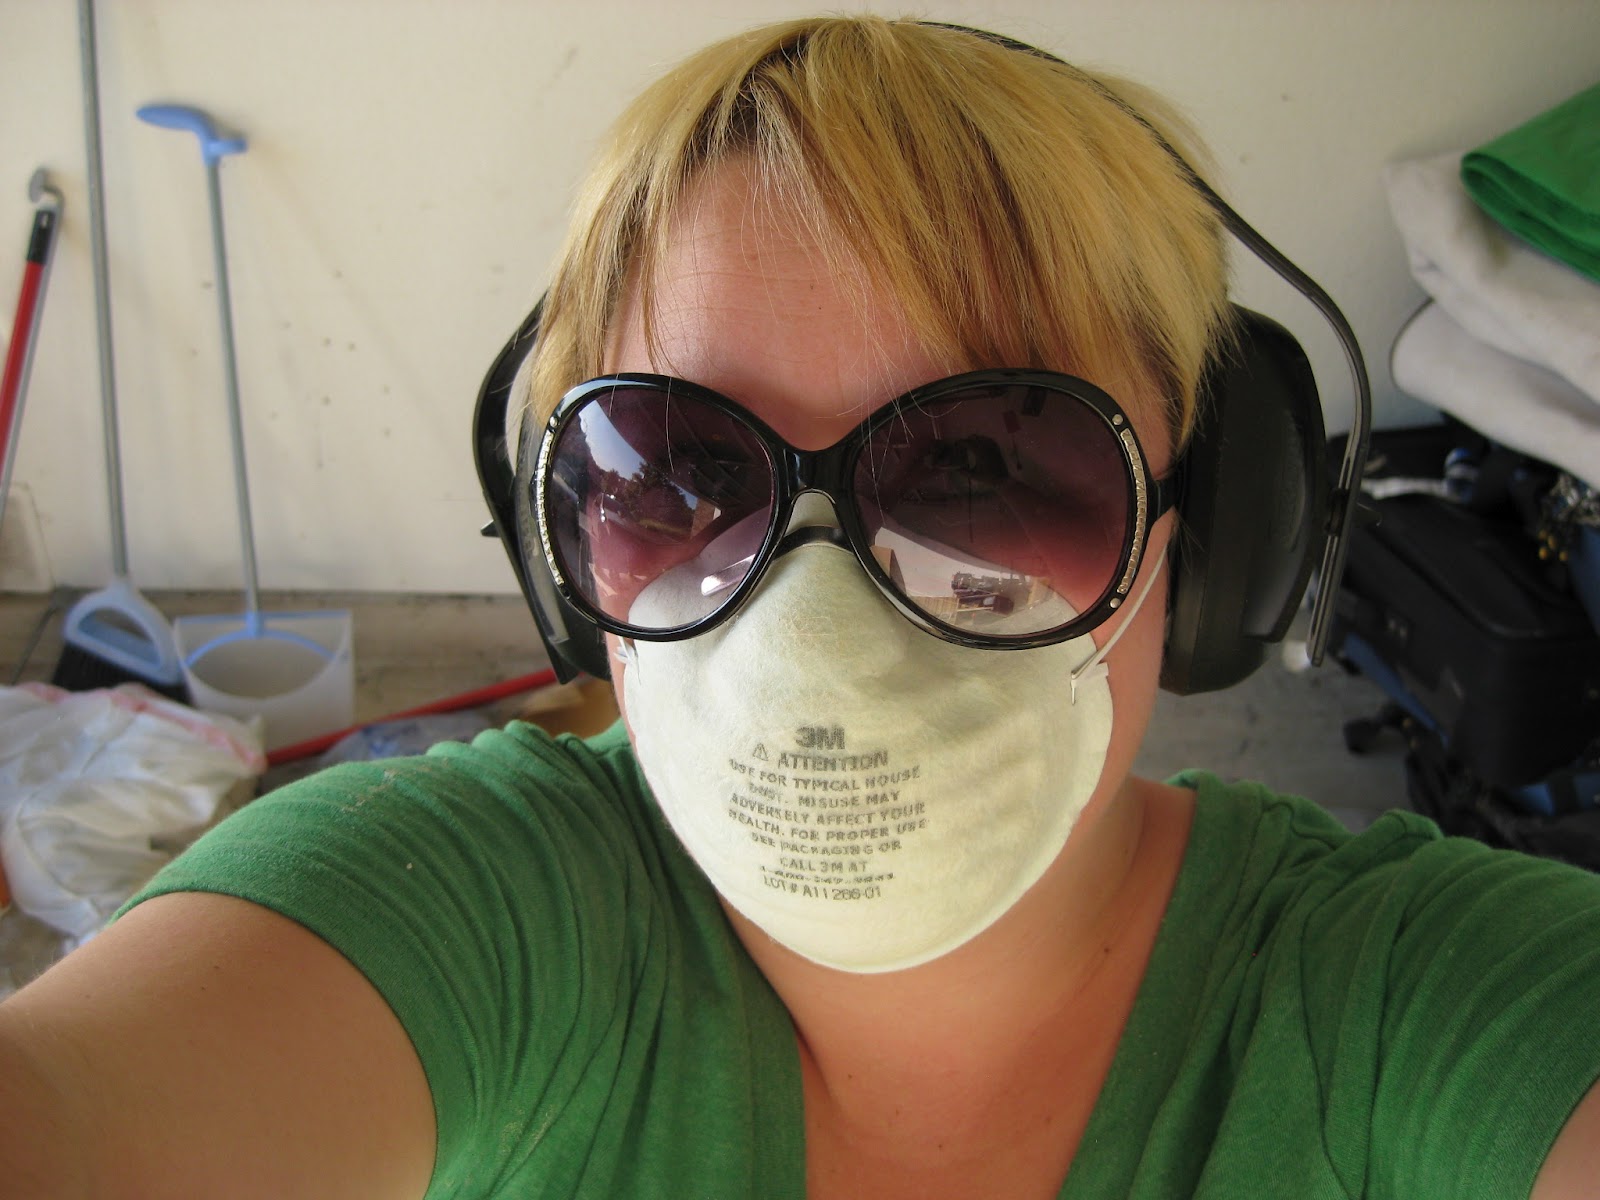
 Eye protection comes in all shapes and sizes, and you need it any time you use a power tool, from sanders to saws to drills to paint sprayers. It only takes one speck in your eye to cause a serious problem. I usually work in my garage with the door up and the Texas sun shining in, so I often use a big pair of sunglasses, but I also have a pair of clear safety glasses for cloudy days or indoor work. Make sure they completely cover your eyes, and it's best if they wrap around the sides, too. You can pick up a pair for as little as $1, or you can invest up to $50 on a good pair. Pro tip: buy like, five pairs of the $1 ones and stash them around your work area. They scratch, break and get lost like crazy, and I absolutely hate making last minute trips to the hardware store for something as small as a pair of safety glasses, but I won't work without them.
This is how I usually look in my garage. Scary, right?
Hearing protection is often overlooked, but VERY important. It's easy to underestimate the damage a loud, droning noise can do to your ears, especially when you're using power tools and you keep turning them on and off for short periods. Hearing pro should be used with saws, sanders, nail guns and other intense noise-making tools. Even if you're only using it for a minute. I use a pair of noise blockers worn by flight line workers. In fact, that's where I got these - I used to work on the flight line back in England, and they issued me my very own pair.
You don't have to learn about weapons guidance systems, work on plane engines or join the BASH team (seriously, I did that - look it up, it's hilarious) to get good hearing pro - you can buy it from the Blue store for a couple bucks. But the airplane stuff is way cooler, I'm not going to lie.


You know what people never use, but should? Gloves. You need two kinds, at least: latex or nitrile or vinyl gloves for painting, staining and stripping, and heavy duty canvas or leather gloves for gripping and handling sharp or rough things. You could also get a nice pair of heavy duty rubber gloves for using solvents or acids. That would really round out your glove collection. Nobody ever owns a good pair of gloves and I don't know why. They're cheap reusable and infinitely useful. Get some.

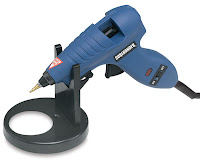
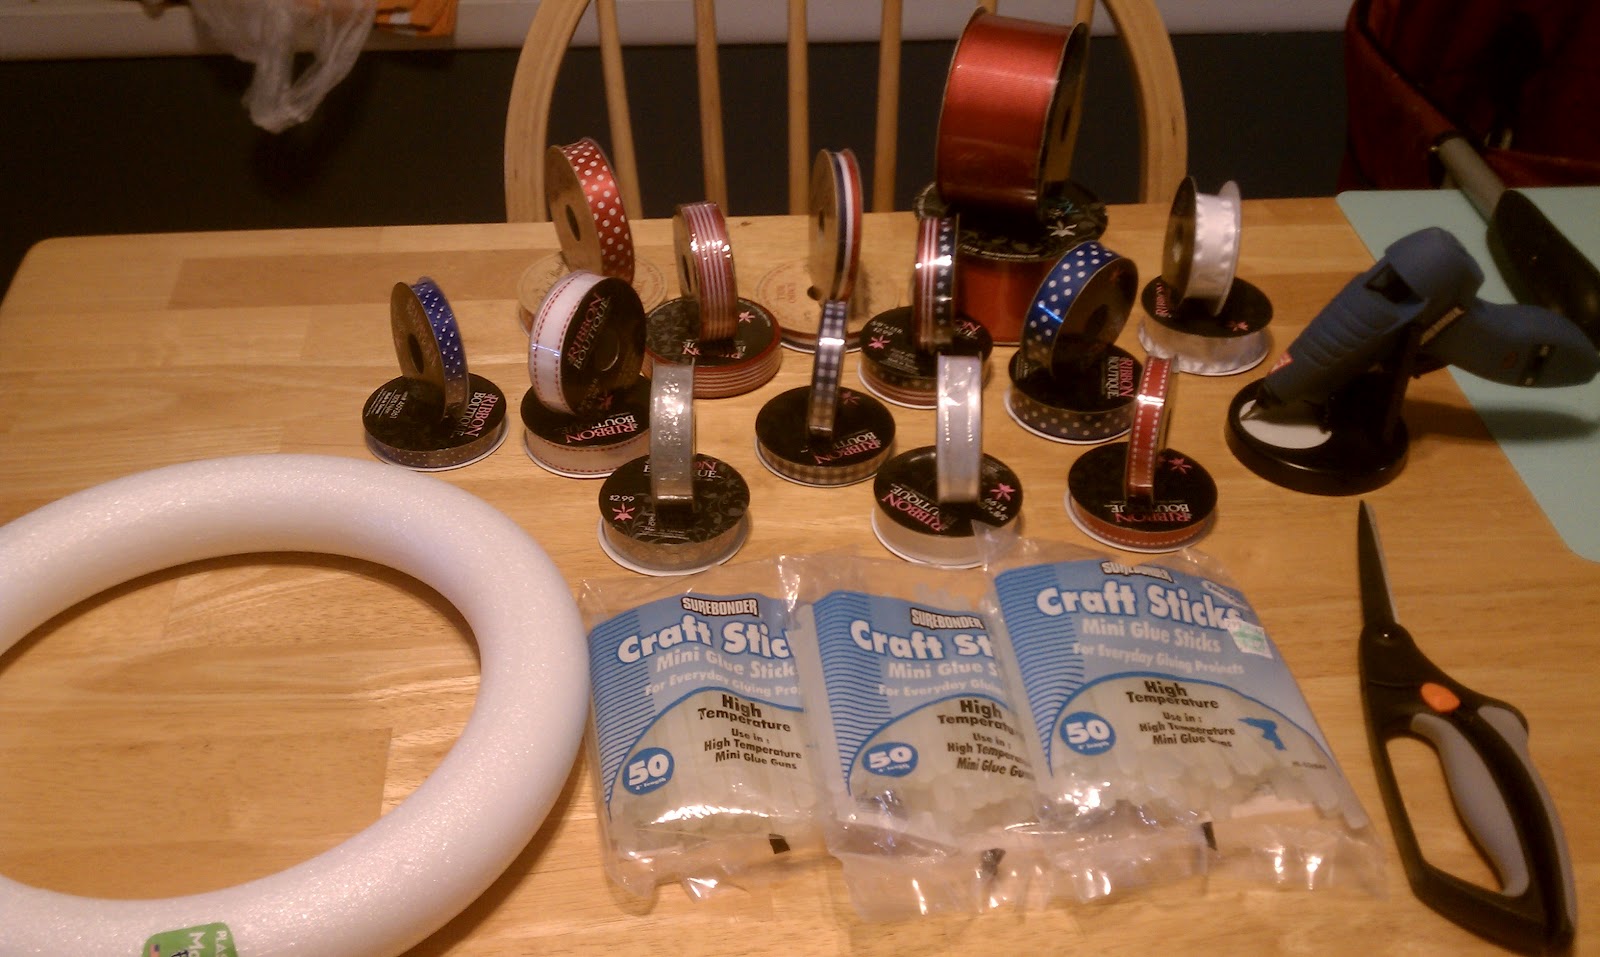
Let's talk about glue guns. Even if you are using a low-temperature craft glue gun, that thing had to get hot enough to melt a solid stick of glue. And not just melt it, liquify it enough that it can be extruded through a small metal hole. So that sucker is hot. Your glue gun, in my opinion, should always have two things: a stand and an 'off' switch. I know it's a pain to unplug the gun every time you aren't going to use it for more than three minutes. That's how crafting works. So a gun with an 'on' and 'off' switch is priceless. And I know they exist, I've seen them. Look, there's even a picture of the exact one I bought the other day. As far as stands go, it's going to do a few things for you. It's going to keep your gun from leaking glue onto itself (they all do it if you lay them sideways) and it's going to keep that hot metal nozzle from touching and burning anything else, like say, its own cord. See how that wouldn't be good? Also, it goes without saying, but please do not operate a hot glue gun while your children are around. Yes, 2nd degree burns heal, but do you really want that to happen in the first place? Just save it for nap or bed time, like my friend Kathryn does.

Craft knives, X-Acto knives, box cutters and blades of all kinds: keep them out of reach of your children and any slow-witted, clumsy people who may hang around your house. I've seen people get stitches from a craft knife - they are wicked sharp. I mean, they have to be. And in the garage, I keep a box cutter in my pocket for opening things, scoring wood, chipping paint, prying the catches open on my sander, you name it. They're dead useful. But I'm telling you, even a clean cut with a sharp blade will bleed forever and possibly need stitches. And it will cut through you like butter, my friend. Tasty, tasty butter. It's one of the many perks of having friends and family in the medical field, but I have a few rolls of butterfly tape around here somewhere for just such occasions. And a craft knife can inflict a puncture wound that will require not only stitches but a tetanus shot. Do you really want that? No? Then always treat your sharps with respect. Use canvas or leather gloves when you change the blades on your knives, and if you use a breakaway blade on your box cutter, you need eye pro and gloves and no one else around when you break to the next blade. Remember to keep a cap on all of your knives or retract the blades when they're not in use, and keep them put away out of reach of children.

Here's the thing about scissors. If you're a crafter, you know that you can't use paper scissors to cut fabric and you can't use fabric scissors to cut paper and you can't use either to cut crafty materials like foils, pipe cleaners or glue sticks. So chances are, you own at least three pairs of good, sharp scissors. I myself own about half a dozen, all earmarked for specific craftiness. Plus a pair of pinking shears. SO I'm assuming you know Scissor Safety, since we all learned it in Kindergarten. But then, you know what they say about assuming - something about a donkey - so I'm going to conduct a little review. Walk, never run. When carrying your scissors, hold them closed and keep the pointy end pointed at the ground. When you pass the scissors, always hold them by the (closed) blades and pass the handles to the other person. Keep your scissors sharp - dull scissors, like dull cooking knives, are more dangerous than super sharp ones. If you are buying scissors that cost less than about $25 per pair, don't bother having them sharpened, just buy a new pair. Seriously. Sharpen your stainless steel, heavy duty sewing scissors. Sharpen your Ginghers. But just replace your Fiskars.

Sewing machines require a lot more safety checks than you'd think to keep them operating without coming alive and killing you a la the AC unit in Brave Little Toaster. You need to oil it, clean it out with Q-tips (especially where your bobbin sits and the part where your needle goes up) and check the cords regularly for fray. In fact, just suck it up and have that thing serviced every few miles of stitches. It's cheap and saves you a lot of heartache later when you're halfway through quilting a blanket that you have to give as a gift tomorrow and your machine craps out on you. Been there, hand-quilted that. Also, and this is a touchy subject, so don't eat me if you disagree, but I have to tell you not to sew over your pins. Don't. I do, but this is definitely a case of 'do as I say, not as I do,' especially if you are a new sewer. It's just dangerous, and it's a gamble every time you sew over a pin - will my needle hit it this time? Will it break? Will the broken needle come flying at my face? Just don't. And if you're me, feel free to have a backup machine (or five) chillin' in your house. Not only do I have a backup machine that is identical to my primary, I have a vintage backup electric for when I'm feeling nostalgic, an electric from WWII that would probably electrocute me if I tried to plug it in and two manual machines; one that has a hand crank on the side and one that operates by foot treadle. And they're all in perfect working condition, except the WWII one. I hate hand sewing that much.

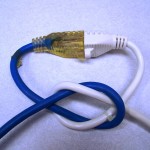
Power Tools: discuss. I'll go first. Have some respect for your power tools, okay? We've all heard the stories, we've all had the shop teacher who was missing some appendages. Remember to lock your cords like the picture to the right to keep them from coming undone in the middle of a project. Always use an extension cord that is both rated for the tool you're using and no longer than you need. To this end, I'm installing a surge protecting power strip to the back of my workbench to eliminate the need for extension cords on any but the biggest projects. Never put your hands near a blade, running or not, and never ever change or adjust any part of your tool while it is plugged in. Yeah, that's right, I unplug my sander to change the paper because turning it off isn't good enough for me. That's just how I roll. Please never use power tools alone - you need someone nearby who knows what you're up to. That way, if you're bleeding out on the garage floor, your person might notice that either A) you're screaming or B) the power tools have stopped and come check on you. Saved your life! In all seriousness, if you're not comfortable with a tool, you don't need to be using it by yourself. I'm not going to tell you that these tools are hard to use, but they do require some strength and at least the experience of practicing on a 2x4 before you begin a project. If you're using a public workshop, just ask the supervisor guy for help - that's what he's there for. If you're doing it by yourself, ask me and if I don't know, I'll call my dad or Mr. Neil.

 For the love of God, tie back your hair and wear old clothes. That's not blasphemy, I'm really exhorting Him to convince you of this. I know, Martha Stewart does it in a dicky and a cashmere sweater, but you're not Martha. No one is watching you or paying you to look pretty while you craft. (And if they are and you're reading this blog anyway, I need a sponsor, let's talk.) We all harbor these grand images of creating beautiful pieces of art while dressed in our favorite Pinterest outfit, sitting at a craft table in a pristine, tastefully decorated room. But I craft at my kitchen table, among cereal bowls and spoons, or in my sawdust-filled garage where I have to sweep away roly poly bugs before I get started. And I think I make some pretty nice crap. Plus, you'll be sad once you ruin that nice shirt with oil from your sewing machine, or cut it on accident when you drop your blade, or somehow manage to fling paint at yourself. Your work clothes should consist of a short-sleeved shirt (if it's cold and you need sleeves, make sure they're tight and come down no further than your wrists), jeans or jean shorts that are not baggy and won't fall down, and close-toed shoes. Work boots would be awesome if you're going to be in a garage, but as long as they're closed, pretty much anything is good. If you ever look at pictures of me when I'm working with tools, paint or glue, you'll see that I wear the same green shirt and jeans. I recently bought a pair of shorts so I don't die of heat exhaustion in my garage, but still. Same clothes, every time. While we're on the subject of clothes, there's this: tie back your hair. I keep mine cut very short so this isn't an issue for me, but when I was younger my hair was so long that I could sit on it. Seriously, ask anyone I went to high school with. And when I worked with my dad, it had to be braided and wound up out of the way. The last thing you want is to get your hair caught in a power tool, dipped in paint (especially oil-based paint or shellac) or falling in your face while you negotiate a difficult seam on your sewing machine.

A few other tips from a crafter:
  • Read your paint. Indoor, outdoor, latex, oil, nontoxic - these are all really important things to consider before you get started. But I'm going to do a whole post on paint, so I won't go into that right now.
  • Keep your work area clean. Nothing is more frustrating than trying to craft in a messy space. Or more dangerous.
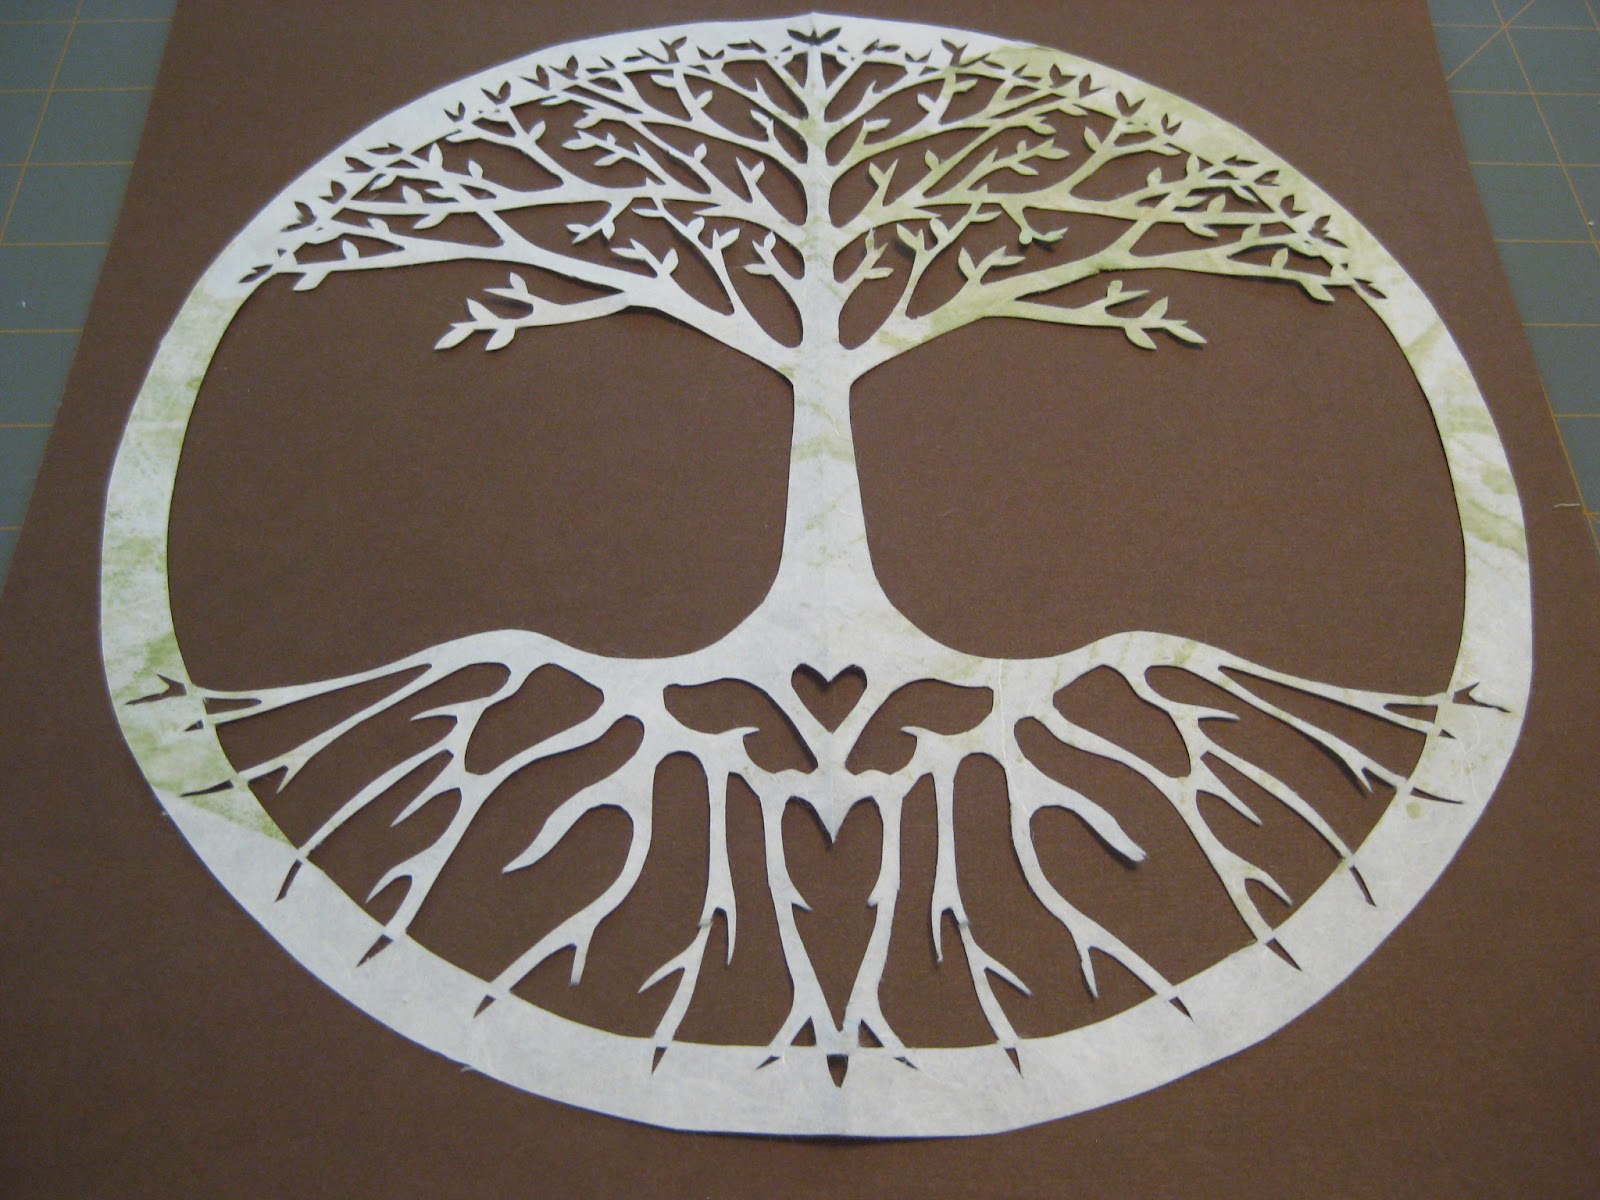
  • Invest. Cheap tools beget cheap work. So you can't afford to have six different paper cutting blades like me. Pick the most useful, fine tip blade you see and buy the next-to-nicest version they have. I'll tell you a secret: I always start off with the basics when I'm learning a new craft and accumulate pieces over time. It took me years to get all of those blades, one at a time.
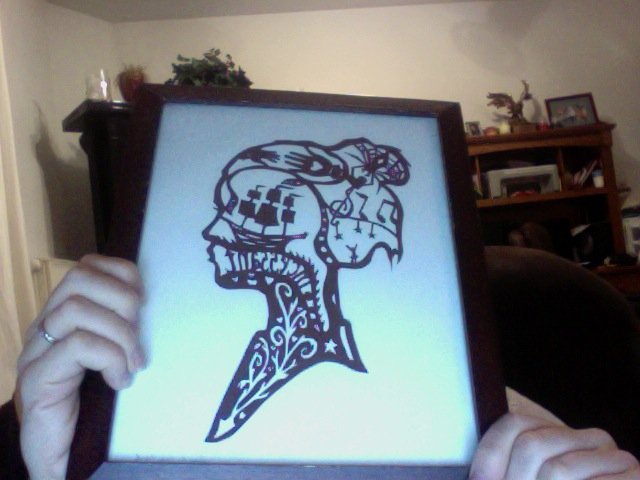
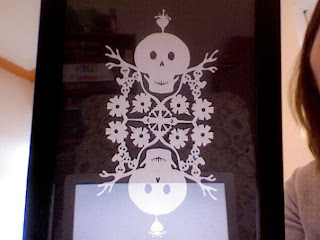
  • Please don't use heirloom fabric, hardwood, oil based paint or handmade paper for your first project. I am so serious about this, it isn't even funny. It will not end well. For your first sewing project, use quilting fabric. For your first woodworking project, use pine or an old piece of furniture that you care absolutely nothing about. For your first paper cutting, use computer paper or scrapbook paper. Because your first project will absolutely, 100% guarantee NOT turn out the way you imagined. It just won't, because you don't know what you're doing, you're still learning. And I would hate to see you waste beautiful, expensive materials on something you're not going to be happy with. Save the good stuff for your third or fourth project, once you've had a chance to learn from that first experience and grow as a crafter.

Tuesday, April 24, 2012

Tutorial: Paper Portfolio

For those of you that don't know, I have the best job ever. I work at the preschool at my church as a teacher's aide between two pre-k classes. The two teachers I work for are amazing - they're creative and kind and just really good at what they do, and I'm not saying that because I think they might read this. Well, not just because I think they might read this. Throughout the year, we save the kids' art projects, pictures and class work and when they graduate we present it to their parents in a cute little paper portfolio. As we're nearing the end of the school year, the time has come to start gathering papers and making the portfolios. Since I just started working on them, I thought I'd show you how easy and cute they are.

Here we go! You'll need:
 - 1 large sheet of posterboard
 - some adhesive velcro (a few inches should do you)
 - several inches of a few different kinds of ribbon
 - a single hole punch
 - a pen, pencil or marker (doesn't really matter which)

Step 1:

 Take your big piece of poster board and find a nice, flat surface to work on. This whole process takes about two minutes, so don't go out of your way to find a place to do this. There's no need for an epic quest or anything.

Fold your poster board over, leaving about three inches hanging out on one side. This is going to be your flap. Make sure that all of your edges line up nice and evenly.

Run a pen, pencil or marker over your fold to smooth it out and make it look pretty. Trust me, the difference between a nice looking portfolio and a folded poster board is a smooth edge.

Step 2:
Fold over the extra three inches you left on that one side. Again, make sure all of your edges line up evenly, and that you fold the whole flap over - all three inches.

Run your pen, pencil or marker along this new edge to smooth it out. Remember, this is not a piece of crap. Don't skip this step.

Here's what you should have so far.

Step 3:
Using your single hole punch, make three evenly spaced holes along the outer edges of your portfolio. Make sure that your first hole starts BELOW the flap when it's closed. 

Step 4:
Gather up all of those ribbons! Remember, I'm making 21 of these bad boys - one for each of the students in my classes. I have seven different kinds of ribbon, but you probably only need three or four if you're only making one portfolio. 

Cut your ribbons into roughly 4 inch lengths. You'll need three or four ribbons per hole, and there are six holes total. You do the math. 

Tie three or four different bits of ribbon through each hole, double knotting as you go. Not only is this super cute, it keeps the edges of the portfolio closed so that you can put loose papers in it.

Step 5:
With your velcro stuck together, remove the paper covering the adhesive backing on the hook piece and stick it to the flap of your portfolio, in the middle about 1/2" in from the edge.

Remove the paper from the back of the loop piece and close the flap of the portfolio. When you open it up, both pieces will be exactly where they need to be to meet up perfectly!

Step 6:
Admire your handiwork and then stuff it full of papers, artwork and craft projects made by four year olds.

Wasn't that easy? Now I just have to finish 20 more. And for those of you playing along at home, that means I'll make 42 folds, punch 126 holes and tie 378 pieces of ribbon before I'm done. But you know what? I wouldn't trade this job with these kids for anything.

Monday, April 23, 2012

More Scherenscnitte

I promised to post a few more of my paper cuttings, so here they are. I'll tell you a little bit about each of them, and please forgive the quality of my photographs - some of them were done with a webcam, some with a camera phone and some with my little pocket Canon, all with complete disregard for things like 'lighting' and 'angle.' And they are all really, really old. Until this week, I hadn't cut anything in at least two years, so I was really searching through my old photographs to find these.

It goes without saying, but I have to say it anyway: Please, please, please do not copy my work. These are all original designs drawn by me, and I put a lot of myself into them; my time, my thoughts, my everything. I went through some really bad, hard times, and these paper cuttings were a form of therapy for me. Some of them I have never shared. If you can't draw, please feel free to browse the web elsewhere for free printable paper cutting templates provided by many craft sites and artists. Mine are not for personal use, not for sale, and especially not for you to sell. If you're interested in one of my pieces, please contact me and I would be happy to make a reproduction cutting for you or design an original work with you for a small fee. Thank you so much.

I wanted to share the template I drew for this cutting because not only is the picture mirrored, it's canted backwards and of really poor quality.  Here, you can see the ship sailing on the waves, about to be crushed by the tentacles of the sea monster. There's a hand reaching out in love to another, a girl trying to touch the stars, a spider spinning a web and capturing a heart, music, a growing vine and the word 'incessant' rising up and out of the girl's mouth. This piece took me several hours to draw, but I had a picture in my head of exactly what it would look like when it was done, and I'm really pleased with it. I have only cut this piece once, and it is hanging on my wall at home. When people ask how I felt during the bad times, I show them this.
 And here's the really bad webcam photo of the finished cutting. One of the things I love about scherenschnitte is the use of negative space to tell a story. Of all the pieces I've done, this one is probably my favorite.

 I cut this piece out of one sheet of paper quartered. It's a one-off - I drew it directly onto the paper and then cut it without making a copy. There will never be another just like this one. I drew and cut this for a friend who was visiting another friend in Germany. I also took her to Paris, which was an awesome trip that I'll tell you about some other time. She was really into skulls and Dia de los Muertos and piercings and tattoos - we got along quite nicely.

Now, I may just be patting myself on the back here, but I thought this was quite clever. What you're looking at here is one piece of paper, total. I used the negative paper that I cut away to create a second piece. If you put the pink Cinderella on top of the blue Cinderella, you'd have one solid piece of black paper. Cool, right? I thought so. I used Perrault's version of Cinderella for this cutting - though you might know it as the version Disney used. The pumpkin, mice, brooms, magic wands, key and glass slippers all come from the story. Notice that, due to a quirk in the way I cut the piece, blue Cinderella is wearing two glass slippers, while pink Cinderella has one slipper and one bare foot.
These pieces were designed and cut for J's little girlfriend back in Germany. He was in L-O-V-E love and had to give her something special, so this is what we did. I really like giving home made gifts whenever I can. It makes me feel like a super-mom.
I cut the Little Mermaid in the same way that I cut Cinderella - if you put them together, you'd have one piece of black paper. It's hard to see in these pictures, but pink Little Mermaid has scales cut into her tail at the hip and...knee, I guess? They show up better on blue Little Mermaid. Also, I hand painted the watercolor backgrounds for all four of these pieces myself. I really love working with watercolors, but the only thing I can do with them is create pretty color washes - all of my attempts at actual images have been huge flops. Oh well, you can't be good at everything, right?


This Air Force piece was made for my friend Beth's husband, Bill. He kind of got shafted when he left his unit in Germany, and I felt like he should have something special to remember his time in the service. I painted the blue paper and cut the Air Force symbol out of the top, backing it with metallic silver paper. I also cut a window out of the middle and backed it with the Airman's Creed. I added the AF seal and silver lettering last and framed the whole thing up. I don't know if it actually counts as a paper cutting, but I made it and I like it, so it gets to be on my blog. If you don't like it, get your own blog. It's free.
 And this is the piece I made for Beth - one of the Tree of Life cuttings I love to give to my dear friends. I decided to do it in reverse - it's opposite of my usual cuttings from this template, and I really like it this way. Again, the green is a watercolor wash and the frame is one that I found at the BX, fell in love with and bought like, ten of on impulse.


I know these pieces are really hard to see, but they are among my favorites. I made these for my mom's guest room a few years ago, and while that room has since been repurposed,  I'm hoping that they get to be hung on the wall again some day.

If you can't tell, these are hand drawn silhouettes from Where the Wild Things Are by Maurice Sendak. My mom has three daughters and nine nieces and nephews. When each child was small, my mom
gave each a copy of Where the Wild Things Are and read it to them. It is a tradition that she carried on to her grandchildren - both of my kids have a copy and a memory of their Mimi reading a very special story to them.

So when I wanted to make a special piece for my mom, it just had to be Max. See Max in his wolf costume chasing his dog with a fork?  And roaring his terrible roar and gnashing his terrible teeth after he's crowned king of the Wild Things?

And finally, there's Max swinging from the trees during the wild rumpus. You can't really tell, but the background paper is this really pretty shimmery green and the Max silhouettes are black. I had so much fun drawing these templates - picking out my favorite Max poses and trying to tell the story with pictures.

I've got big plans to do another series like this from other children's books that I loved. Maybe I'll get around to that some day. Psh, yeah right. My crafting to-do list is about a thousand miles long, it'll take me years to get around to that.

Anyway, there you have it. These aren't all the pieces I've ever done, but I have a terrible habit of giving away my creations without taking pictures or documenting them in any way. I should really work on that. I'm hoping that's what this blog will do - keep a record of my projects and ideas so that I can share them with others and teach them the things I've taught myself. What is the point of spending all of my time and energy working these projects out if I'm the only one who ever benefits from it?

Sunday, April 22, 2012

Tutorial: Ribbon Wreath

Last night found me down in an above-ground swimming pool shoveling sand. Dad would dump a wheelbarrow of sand down into the pit, and I would smooth it out with a rake and shovel, covering the  old sand that has been under this pool for the last several years and making a soft new layer for the replacement pool liner to sit on. So I'm down in this five-foot hole when my phone rings. Of course, my phone is on the deck several yards from the edge of the pool - totally unreachable. On top of that, I took the ladder out of the hole so that I could smooth the sand under it, and now I'm trapped. In a pit of sand. With no way out. And my phone is ringing.
Crap.

Needless to say, I didn't reach the phone in time. When I returned the call, it was to my friend Kathryn, who had a crafting query. She found this wreath on Pinterest and HAD to make one of her own RIGHT NOW. The problem was that she's never made a wreath before and wasn't sure how to make hers look like the one in the picture, which, of course, did not have any instructions. I love that people turn to me when it comes to craft questions and opinions and how-tos. It really just makes me feel all warm and fuzzy inside. So she describes this wreath to me over the phone - it's a round wreath with loops of ribbon intertwined all over it. I think I have a pretty good picture in my head and talk her through how I would put it together. While we're on the phone, I'm still shoveling and smoothing sand. Because I'm awesome like that.

To make a long story shorter, I wound up meeting her a little later at the Orange Store to buy supplies, me still in my work clothes, covered in sand and sweat and with pronounced hat hair. Good thing Kathryn loves me anyway. We bought way more ribbon than we wound up needing, a glue gun with about a thousand glue sticks and a wreath form. Please disregard the gross overpurchase of products in the picture below - at this point, I still hadn't seen a picture of this wreath we were trying to replicate and my personal policy is 'better safe than sorry and having to make another trip to the craft store.'

So here we go:

 You will need a 10" plastifoam wreath form (or whatever size you want, just adjust your ribbon amounts accordingly), a hot glue gun with sticks, a few flathead pins, two rolls of 2" ribbon for the base and about 12 rolls of thinner ribbon (about 15' each) in various colors and patterns for the loops. Note: We didn't use all of each roll of ribbon. Kathryn estimates that 24 rolls of ribbon would yield about three 10" wreaths, but we haven't tested that theory.
 First, we need to wrap our plastifoam wreath, because hot glue will just melt that foam away if we apply it directly. A layer of ribbon will protect the form and give us something that we can glue onto.  I know this picture shows the ribbon being pinned parallel to the sides of the wreath, but we wound up unwinding the ribbon and canting the end to make it wrap better. What I'm saying is, pin your ribbon diagonally to the form so that it doesn't wrinkle up when you wrap it around the circular form. And if you mess up (like we did) just unwind, unpin and start over. No big deal.
 It took us two rolls of ribbon, about 8 yards total, to wrap this wreath. In hindsight, we could have wrapped it a bit looser and used less ribbon, but I still don't think you could do this with less than 6 yards. Feel free to prove me wrong. When your first roll of ribbon runs out, just pin the ends and start the new roll where you left off.
 We found that 5" lengths of ribbon made for the perfect size loops on a 10" wreath. So go ahead and cut about a bajillion of them, pile them up and admire how nicely all the colors go together. You are amazing.
The best way to make sure that your wreath looks nice and full is to rim it inside and out with loops of ribbon before you fill in the front. With our wreath turned face-side down, we pinned a ribbon on either edge and adjusted them until we found exactly the right spot. Once we were happy with the placement, we hot glued them down. Notice that we crossed the ends of the ribbons instead of making perfect loops for this part.
This is the view from the front. See how we're making edges?
 Go ahead and continue that all the way around the inside of your wreath, being sure to keep them even and random. You don't want to clump all of the same ribbon together in one spot.
 Isn't that pretty?
 Now do the same thing to the outside edge, again, keeping them even with that first ribbon.
 At this point, it was very late and I needed to get home, so we decided to skip ahead. Once you have your edges beribboned, start randomly gluing circular loops of ribbon, like the ones in the picture, to your wreath front. I would recommend picking one ribbon, like this blue polka dot ribbon, and gluing about 20 loops randomly over the front of your wreath, making sure to get close to the edges you made. Then, pick another ribbon, and randomly glue 20 of those loops on. Then another and another until you run out of ribbon. That ensures full coverage and a good random sprinkling of colors and designs. Then, if 20 of each of your ribbons wasn't enough, do five more of each, until your wreath is full.
 Another detail Kathryn wanted to include in her wreath was interwoven ribbons. So as we went, we looped some ribbons in and around and through each other to create this effect.
 Isn't it coming along nicely? This is as far as we got before I abandoned Kathryn to her own crafting devices and took J home so he could go to bed. She vowed to have it finished by the time she went to bed, and you know what? I believed she could do it.
So this morning, she shows up at church with this. I love it! I want one of my own! I can't wait to make one for my house in bright, summery colors. It's going to be awesome - I'll post pictures whenever I actually get around to it, I promise. In the meantime, make your own and send me a picture - I'd love to see what you can do!

A note about hot glue guns: I don't own one. I never have. I just don't really do many crafts that call for a hot glue gun, I guess. So when we were at the Orange Store looking at their expanse of glue gunnery, I just picked a mid-range model with a stand and a precision nozzle. I recalled glue guns as being very messy and winding up with great globs of glue where you only wanted a small dot, so this 'precision nozzle' seemed like a good thing. And it WAS. The only problem, and I think this is a design flaw inherent in all glue guns, is that one small squeeze of the trigger yielded three drops of glue. Each ribbon requires two drops of glue: one to attach the first end to the wreath and another to attach the second end to the first. Three drops is just impractical. We probably wasted a good stick or two of glue on this project in random drips and drops. Luckily, hot glue sticks aren't that expensive, or this would be a real problem, but I challenge someone out there to design a glue gun that doesn't extrude molten glue at the drop of a hat. If you could make a dripless glue gun, you'd be set for life.

Saturday, April 21, 2012

Jennifer's Tree of LIfe Scherenschnitte

My mom has taught me many things in life. Too many things to list here. But as a military wife, my mom is one of the most adaptable people I know, and she does it not by simply acclimating to her surroundings, but by assimilating into them. Every time we moved, she learned about the place we were living and strove to make us a part of our new home rather than strangers just living there. She learned about local foods and made them for us, took us to festivals and cultural events and really made every place we were ever stationed another hometown for us.

So it happened that, being a military wife, I found myself living in Germany, twenty minutes from the French border. I learned about the food, about the culture and the history, I learned the language - well, I already knew the language, but I learned the dialect - and I was just missing something. As a crafty person, I needed something to take away from my time in the DE. And that's why I taught myself the art of Scherenschnitte.

Scherenschnitte is the art of cutting paper, and has very strong roots in Germanic history. Actually, many cultures have a paper cutting history - the Chinese and the Mexicans spring to mind. Beautiful scherenschnitte pieces can be found in museums and small shops in Germany, and that's where I was introduced to this amazing art. I remember finding a piece that was a farmhouse, several stories tall, with views into each of the floors and animals and an apple tree in the yard. It was so detailed and amazing, I just knew that I had to learn how to make these fragile, delicate lace-like pieces of paper.

Patterns for paper cutting abound online. You can print off a pattern for almost anything you can think of. But there's no challenge in that - it's like filling in a coloring book and calling it an original work. No sir. Not for me. So I began drawing out scherenschnitte patterns of my own - pieces that spoke to me and about me. Things for my friends and for my children. I started out using scrapbook paper and an exact-o knife, and graduated to handmade papers, archival quality glue and a craft knife with a very delicate, razor sharp tip. I now have punches, razor guides, fingertip blades and all sorts of neat little bits and pieces for paper cutting, but I rarely use them. I prefer to do it the old fashioned way, with scherenscnitte scissors and a knife, and hand drawn patterns.

The Tree of Life is a very old, very strong symbol in Scottish culture. It represents heaven and earth, the mortal plane and life itself. Originally depicted by knotwork, they now often resemble Rowan trees. It is a special, personal piece of myself that I really enjoy giving to other people, and a cutting I've done often for friends.

This is one of my first Tree of Life cuttings that I made, and this one was for my friend Amanda. She wasn't able to take it with her when she moved, and I never got it to her because the glass broke, as you can see, and I've just never gotten around to sending it to her. Sorry! I promise to get on it!

I've learned so much since this cutting, and I was itching to draw out a new pattern, so for Jennifer's housewarming, I decided to design a new tree of life, just for her. Now, I haven't done a cutting since I left Germany. One of the medicines I take gives me a terrible case of the shakes, so much so that I take an anti-parkinsons medication to control them. Recently though, I started a new med that has helped decrease the shakes even more, so I'm finally able to do work that requires fine-motor control again. Yay! This is the first piece I've done in two years, so please cut me a little slack when you see it.


 Don't you just love this paper? It's handmade, with real leaves (and dirt) pressed into it. I've been saving it for something special, because it's so beautiful that I just didn't want to cut into it.
 My first step was to cut a piece of the paper out that was sized to my pattern. I decided to give up about two inches around the edge in order to center my pattern on that gorgeous leaf. For the sake of full disclosure, this is not the piece I actually used. I decided to enlarge the pattern and so I had to cut another piece to fit the larger size. But of course, I neglected to take a picture.

 Here's my pattern. It's symmetrical, so I folded the paper in half and lined my pattern up with the edge, then taped it down. If your tape is going to touch a part of the paper that will not be cut away, touch your finger to the sticky side a few times to lessen the stickiness of the tape. You don't want it to ruin your piece when you pull it off later.
 Now I start cutting. Start with the details and leave the big pieces until last. Always pull, never push. And be very careful - one slip and you've severed a piece that connects the whole design. But if that happens, don't panic - you can apply a small piece of tape to the back of the cutting and trim off the excess tape with your knife. No one will ever know. Trust me, I've done it a thousand times, especially with delicate paper.
Always cut the piece away from the paper last. The big expanses of paper provide stability and give you a place to hold on to the piece while you cut.

And let me just say, this gorgeous paper was a dream to cut, except that it was very fibrous, and tufts of fibers pulled away from the paper every time I picked up my knife. It was very weird.


Carefully remove your pattern. If you have a very detailed portion with lots of loose ends, like the top of this tree with the leaves, your pattern might get tangled up, so go slowly. It's not a race. Well, sometimes it is, but usually not.


Ta da! But you're not done, not even close. Sorry to get your hopes up, I guess that was a premature ta da.

See those tufts of fibers in the corners there? It's time to clean those up. Use the tip of your knife to slice them away and give your piece nice, straight corners and unbroken lines. This takes just about as long as cutting the piece in the first place. It's a little ridiculous, but it's also the difference between a piece of art and a paper snowflake.


That's much better. But you can see that I accidentally tore one of the root pieces. I taped it from behind and like I said, no one would ever know except that I just told the whole world.

Unless you can find one of those really awesome clear glass plate frames, you'll need a background piece. I usually like to mount on hand painted watercolors, but with the variegations in the paper, I thought it would just be too much. Which is a shame, because I love painting with water colors so much. It's very therapeutic.
 This is the cutting on the background paper that I picked out. You can see that it's a little darker than the paper in the last picture - I just couldn't get behind that shade of brown. It looked a little cheap and gross to me. But then again, I am really picky about this sort of thing.

And here's the finished piece all framed up and ready to give to Jennifer and Talon! I think it turned out very well. See the little heart in the roots? And the way the tips of the branches and roots go negative in the border? I just love it. And so you don't think that this came purely from my brilliant imagination, I think I looked at a dozen pages of Tree of Life images and this design is an amalgamation of every one that I saw and liked.

I'll try to post pictures of a few other pieces that I drew out and cut later - there are a few framed around my house and many, many more in my paper cutting craft tote and tucked into my cutting mats. I hope that you like them, and that this encourages you to try it for yourself.

PS - Just so you don't think this is some amazing feat of craftiness that you could never do yourself, you should know that I researched, drew and cut this while watching Mission Impossible: Ghost Protocol with Husband last night. I'm just saying. If I can, you can.