You've seen them - those gorgeous fleece or terrycloth blankets with loops of ribbon around the edges that all the hip moms are carrying around these days. They sell for ridiculous amounts of money online and at the kind of specialty baby boutiques I can't afford to go into, let alone buy anything from. I fell in love the first time I ever saw one, and had to have them for my kids. But there were two problems: 1) I couldn't afford the stupid things on an enlisted salary and B) even if I could afford them, I wouldn't be able to bring myself to pay that much money for something that I could obviously make myself. So, as I usually do when I want to learn how to do something for myself, I Googled it.
I found heaps of how-to's on making these blankets, but they were all (in my humble opinion) unduly complicated. I don't think sewing ribbons to a blanket should take hours and hours of your time. For my first several blankets, I used masking tape to stick the ribbons to the blanket and then just sewed through the tape and peeled it off when I was done. But let me tell you, peeling masking tape is obnoxious and BORING. It takes too much concentration to do while watching TV, and you need both hands and your lap. Also, sometimes one end of the ribbon would come out of the tape and not get caught by the sewing machine. It just sucked. So I finally started using straight pins and putting each ribbon on individually, which is no joke - each blanket has around 60 ribbons.
This blanket set is for my friend Jennifer, who is expecting her new baby boy later this summer. The set consists of one blanket, two burp rags and a lovey. I got a hold of her baby colors and heard a rumor that she loves polka dots, so I went a little wild. The argyle is the blanket, and the polka dots are the burp rags and lovey. I used minky on one side and since I couldn't find any fleece or terrycloth that I liked, I went with plain cotton quilting fabric for the other. This made for a very limp test lovey, so I added a sort of cotton batting, like you use for cloth diapers, in the middle to give it some strength and absorbancy.
Please ignore my carpet in these photos - I rent. If it were up to me, I'd rip them up in a heartbeat. I promise that they're clean, and I'll wash the blankets when I'm done.
Here's your how to:
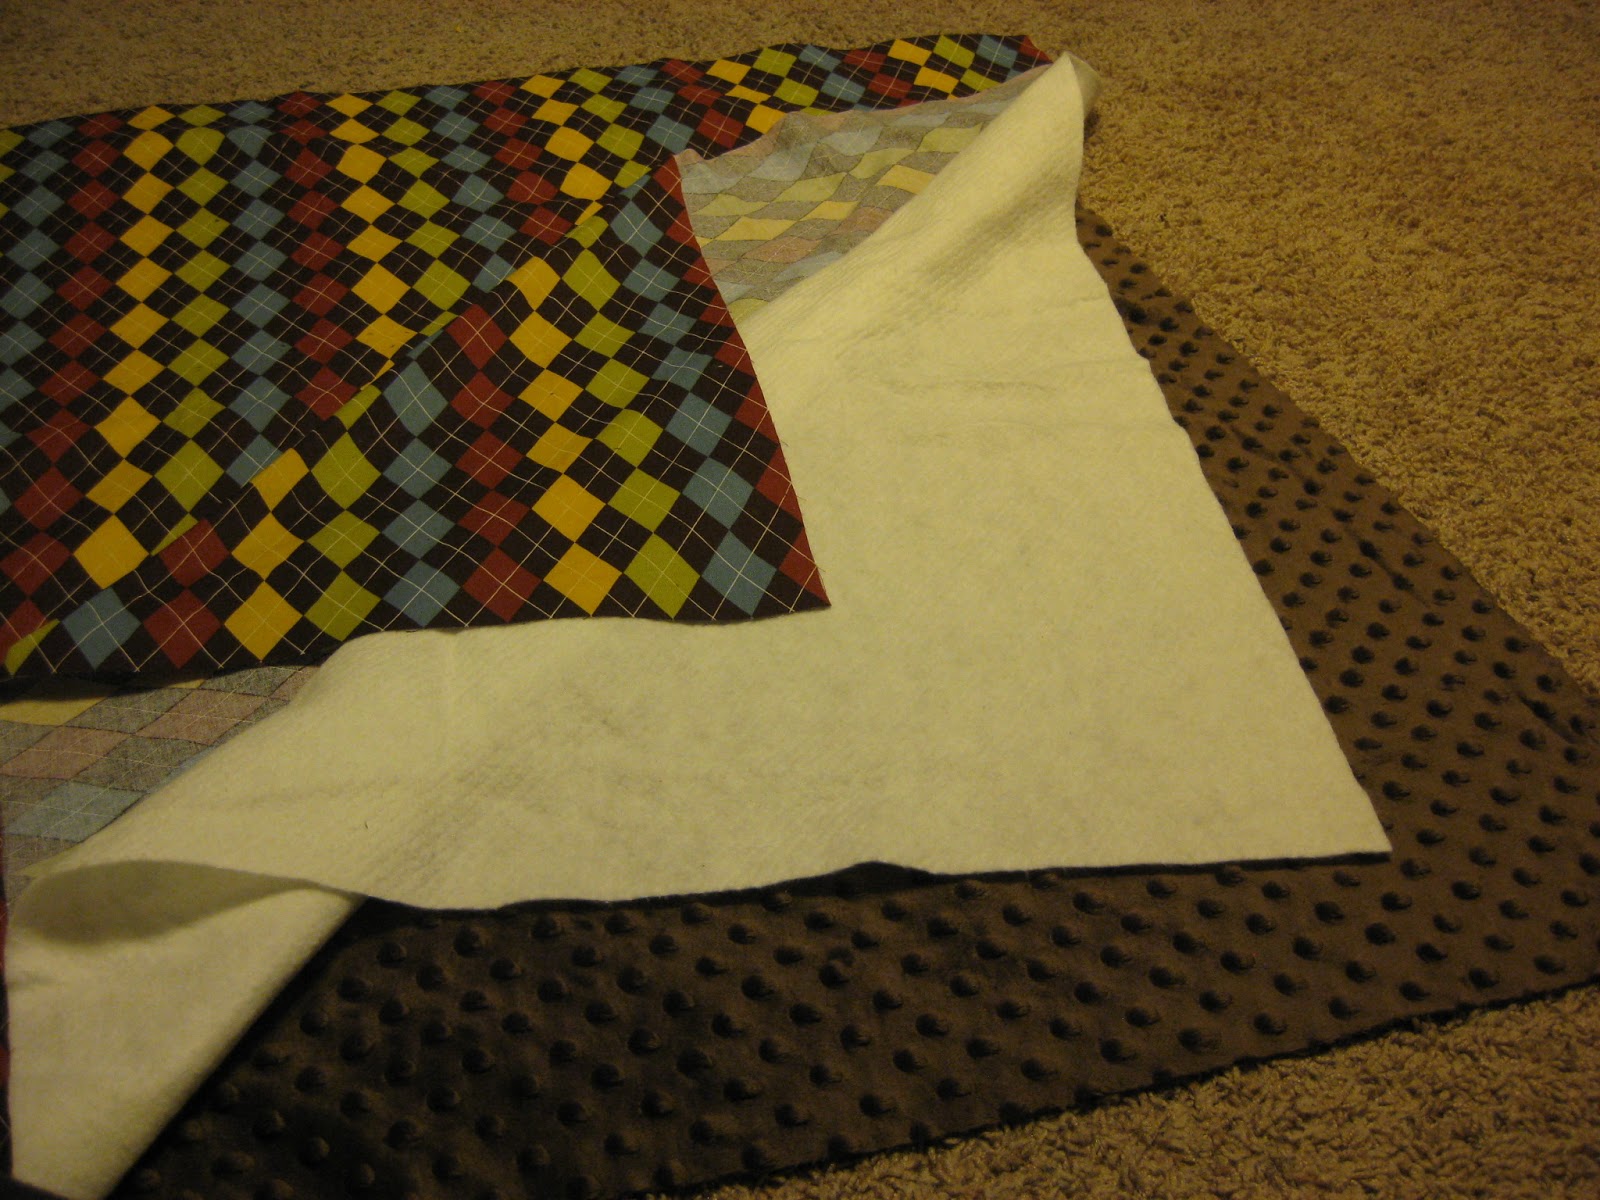
You'll need about 1.5 yards each of your top, batting and back. This will give you one blanket, one burp rag, and one lovey. I do this the dirty way: lay your backing face down on the floor. Lay your batting (if you're using any) on top of the backing. Lay your top fabric on top of the batting. Cut out a 1 yard x however-wide-your-fabric-is blanket, and divide the remaining strip into a lovey and a burp rag. Your lovey will be a square, your burp rag will be a rectangle. Measurements for this are not by any means critical, just eyeball it. If you can't eyeball things, you don't want to see what else I'm about to do.

Okay, now remove your backing and lay the top fabric facedown on the floor. Lay your batting on top. If you're using fleece for both your top and bottom fabrics, you don't need batting and can skip the next few steps.

Pin your batting to the top fabric. We need these two pieces to act like one cut of fabric for the sake of our sanity as we put this thing together.

To that end, we're basically basting the batting and top fabric together. Sew around the edges leaving the smallest possible seam allowance - I aimed for 1/4 inch.

Here's your top fabric and batting basted together. We're now going to treat this as one piece of fabric for the rest of the tutorial and just call it the top.

You can see that my fabric puckered a little at the corner here, but that's okay. It'll all work out in the end. I'm very relaxed about this sort of thing.

Next, you'll need a butt load of coordinating ribbon. I have a stash, but I always wind up buying more every time it goes on sale at Hobby Lobby. I freaking love Hobby Lobby. I get into so much trouble at that place. I think I had 13 different ribbons for this blanket, but some of them came from my ribbon bag, and the ones I bought were 50% off. Yay!

Cut your ribbons into 4in lengths. You'll need a fat ribbon for each corner.

Lay your ribbons out on your blanket top, making sure to keep them random and evenly spaced. For an an average sized blanket, I use about 60 ribbons. Lay your corner ribbons diagonally.

Now the most time consuming part: pinning down your ribbons. You want to fold the ribbon in half, match the cut edges up with the edge of the fabric and make sure you pin it perpendicular to the edge so that the ribbons stick straight out when we turn the blanket later. If they lean in either direction, the ribbons will be all wonky in the end. Pin your corner ribbons at 90', matching the corners of the ribbon up to the edges of the fabric. Trust me, it'll work.

Yay! The hard part is over, you've pinned all of your ribbons! Except that one that I missed, but don't worry, I fixed it after I took the picture. And yes, my pin holder is a chocolate tin. Don't judge me.

In the interest of safety, each ribbon will be caught by the sewing machine three times. This is time #1. Sew a straight line 1/4in inside your basting stitch all the way around the blanket, making sure to catch each ribbon as you go. Do yourself a favor and start at a corner. I know you won't catch the whole raw edge of the corner ribbons, but that's okay, I promise.

Here's a closeup of the ribbons newly sewn onto the top.

This is what your top should look like once the ribbons are on. Notice how they all point in towards the center - this is very important. Also, take a moment to admire how nicely my polka dots line up. That took some serious time and attention, and speaks volumes to my awesomeness.

Now we're going to pin the backing to the top. With your top laying ribbon-side up on the floor, gently line up your backing UPSIDE DOWN on the top and pin around the edges. Your top may have shrunk a little as you sewed it, so it's okay if the backing is a little big. You can always trim it later. Also, do you like my pincushion? I made it in a moment of desperate need out of old flannel, a button from Husband's BDUs and some purple yarn. It is hideous and I love it.

Starting in the center of one side, NOT AT A CORNER, sew another seam inside your ribbon stitching. You should have three rows of stitches, and this will be the furthest in. See it in the picture? Get as close to that middle seam as you can. This is the second time that the sewing machine will catch each ribbon.

Don't complete the stitching - make sure to leave yourself at least a 3 inch gap so that you can turn the blanket right-side out.

Trim off the outer seam, along with any extra fabric hanging around out there. This will make your edges lie nice and flat.

See my gap? Now turn the blanket right-side out by reaching through that gap and hooking your finger through a ribbon, pulling it gently back out of the hole. Straighten all of your corners and edges by gently tugging the ribbons.

Now you have a blanket with a hole in one side. But don't worry, we'll fix that in just a minute.

Tuck the edges of the hole in so that you have a clean edge that lines up with the rest of the blanket, and then pin it in place. If you were more awesome, you could whip stitch this shut and no one would ever know it was there. But I choose to machine sew it shut because A) I hate hand stitching and B) I think it's a lot sturdier. I am giving this to a small child, after all. And to be honest, no one has ever called me out on my ugly little three inch seam at the edge of the blanket.

Starting just under your gap and about 1/2in in, sew around the blanket, squaring off your turns at the corners as shown. This is the third time your sewing machine will catch each ribbon, if you didn't trim very closely. If you trimmed very close, don't worry - not only is twice plenty, you can do another row of stitching between this one and the edge of the blanket that will catch the ribbons for sure. It's all up to you.

Ta da! Your finished ribbon blanket!

You know who else loves these blankets? Our cat, Schnitzel. Don't worry Jenn, I'm going to wash it before I give it to you! In the meantime, I'm just going to let him enjoy his nap.
I used to make these sets for every new baby I came across, until I just...stopped. Don't remember why. I also sold them for around $50/set if you supplied the fabric (I do the ribbons) and $50 + fabric if you didn't. I should really start doing that again. Any takers?
No comments:
Post a Comment