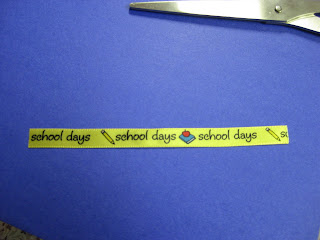
Here we go! You'll need:
- 1 large sheet of posterboard
- some adhesive velcro (a few inches should do you)
- several inches of a few different kinds of ribbon
- a single hole punch
- a pen, pencil or marker (doesn't really matter which)
Step 1:
Fold your poster board over, leaving about three inches hanging out on one side. This is going to be your flap. Make sure that all of your edges line up nice and evenly.
Run a pen, pencil or marker over your fold to smooth it out and make it look pretty. Trust me, the difference between a nice looking portfolio and a folded poster board is a smooth edge.
Step 2:
Fold over the extra three inches you left on that one side. Again, make sure all of your edges line up evenly, and that you fold the whole flap over - all three inches.
Run your pen, pencil or marker along this new edge to smooth it out. Remember, this is not a piece of crap. Don't skip this step.
Here's what you should have so far.
Step 3:
Using your single hole punch, make three evenly spaced holes along the outer edges of your portfolio. Make sure that your first hole starts BELOW the flap when it's closed.
Step 4:
Gather up all of those ribbons! Remember, I'm making 21 of these bad boys - one for each of the students in my classes. I have seven different kinds of ribbon, but you probably only need three or four if you're only making one portfolio.
Cut your ribbons into roughly 4 inch lengths. You'll need three or four ribbons per hole, and there are six holes total. You do the math.
Tie three or four different bits of ribbon through each hole, double knotting as you go. Not only is this super cute, it keeps the edges of the portfolio closed so that you can put loose papers in it.
Step 5:
With your velcro stuck together, remove the paper covering the adhesive backing on the hook piece and stick it to the flap of your portfolio, in the middle about 1/2" in from the edge.Remove the paper from the back of the loop piece and close the flap of the portfolio. When you open it up, both pieces will be exactly where they need to be to meet up perfectly!
Step 6:
Admire your handiwork and then stuff it full of papers, artwork and craft projects made by four year olds.
Wasn't that easy? Now I just have to finish 20 more. And for those of you playing along at home, that means I'll make 42 folds, punch 126 holes and tie 378 pieces of ribbon before I'm done. But you know what? I wouldn't trade this job with these kids for anything.


No comments:
Post a Comment