Crap.
Needless to say, I didn't reach the phone in time. When I returned the call, it was to my friend Kathryn, who had a crafting query. She found this wreath on Pinterest and HAD to make one of her own RIGHT NOW. The problem was that she's never made a wreath before and wasn't sure how to make hers look like the one in the picture, which, of course, did not have any instructions. I love that people turn to me when it comes to craft questions and opinions and how-tos. It really just makes me feel all warm and fuzzy inside. So she describes this wreath to me over the phone - it's a round wreath with loops of ribbon intertwined all over it. I think I have a pretty good picture in my head and talk her through how I would put it together. While we're on the phone, I'm still shoveling and smoothing sand. Because I'm awesome like that.
To make a long story shorter, I wound up meeting her a little later at the Orange Store to buy supplies, me still in my work clothes, covered in sand and sweat and with pronounced hat hair. Good thing Kathryn loves me anyway. We bought way more ribbon than we wound up needing, a glue gun with about a thousand glue sticks and a wreath form. Please disregard the gross overpurchase of products in the picture below - at this point, I still hadn't seen a picture of this wreath we were trying to replicate and my personal policy is 'better safe than sorry and having to make another trip to the craft store.'
So here we go:

You will need a 10" plastifoam wreath form (or whatever size you want, just adjust your ribbon amounts accordingly), a hot glue gun with sticks, a few flathead pins, two rolls of 2" ribbon for the base and about 12 rolls of thinner ribbon (about 15' each) in various colors and patterns for the loops. Note: We didn't use all of each roll of ribbon. Kathryn estimates that 24 rolls of ribbon would yield about three 10" wreaths, but we haven't tested that theory.

First, we need to wrap our plastifoam wreath, because hot glue will just melt that foam away if we apply it directly. A layer of ribbon will protect the form and give us something that we can glue onto. I know this picture shows the ribbon being pinned parallel to the sides of the wreath, but we wound up unwinding the ribbon and canting the end to make it wrap better. What I'm saying is, pin your ribbon diagonally to the form so that it doesn't wrinkle up when you wrap it around the circular form. And if you mess up (like we did) just unwind, unpin and start over. No big deal.

It took us two rolls of ribbon, about 8 yards total, to wrap this wreath. In hindsight, we could have wrapped it a bit looser and used less ribbon, but I still don't think you could do this with less than 6 yards. Feel free to prove me wrong. When your first roll of ribbon runs out, just pin the ends and start the new roll where you left off.

We found that 5" lengths of ribbon made for the perfect size loops on a 10" wreath. So go ahead and cut about a bajillion of them, pile them up and admire how nicely all the colors go together. You are amazing.

The best way to make sure that your wreath looks nice and full is to rim it inside and out with loops of ribbon before you fill in the front. With our wreath turned face-side down, we pinned a ribbon on either edge and adjusted them until we found exactly the right spot. Once we were happy with the placement, we hot glued them down. Notice that we crossed the ends of the ribbons instead of making perfect loops for this part.

This is the view from the front. See how we're making edges?
Go ahead and continue that all the way around the inside of your wreath, being sure to keep them even and random. You don't want to clump all of the same ribbon together in one spot.
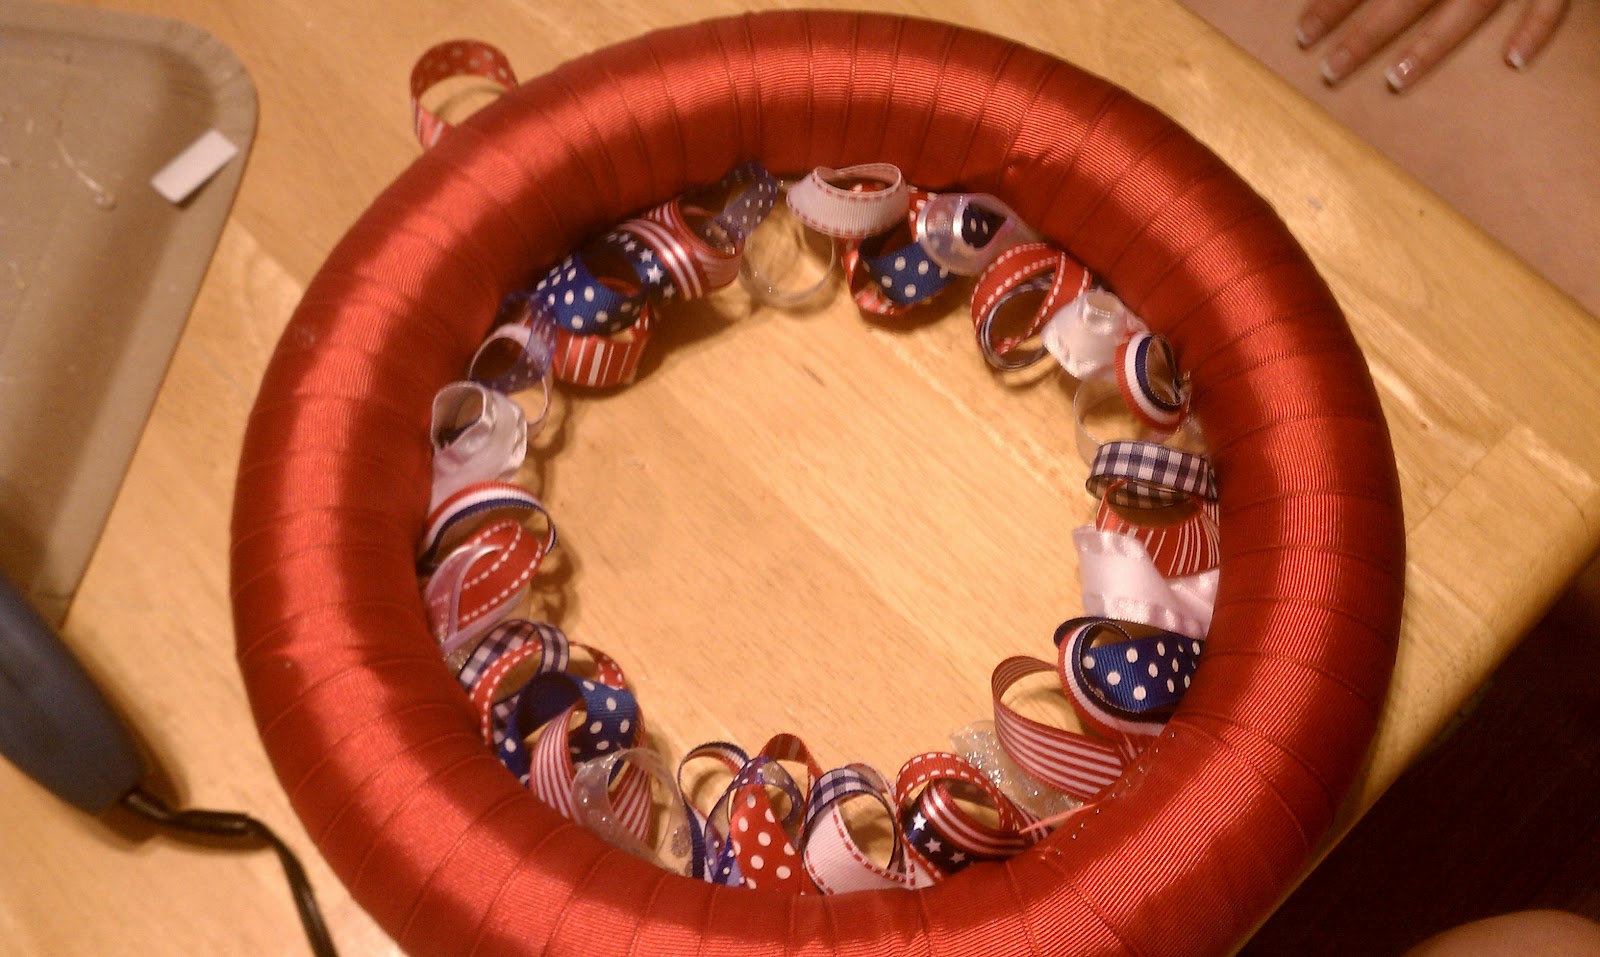
Isn't that pretty?

Now do the same thing to the outside edge, again, keeping them even with that first ribbon.

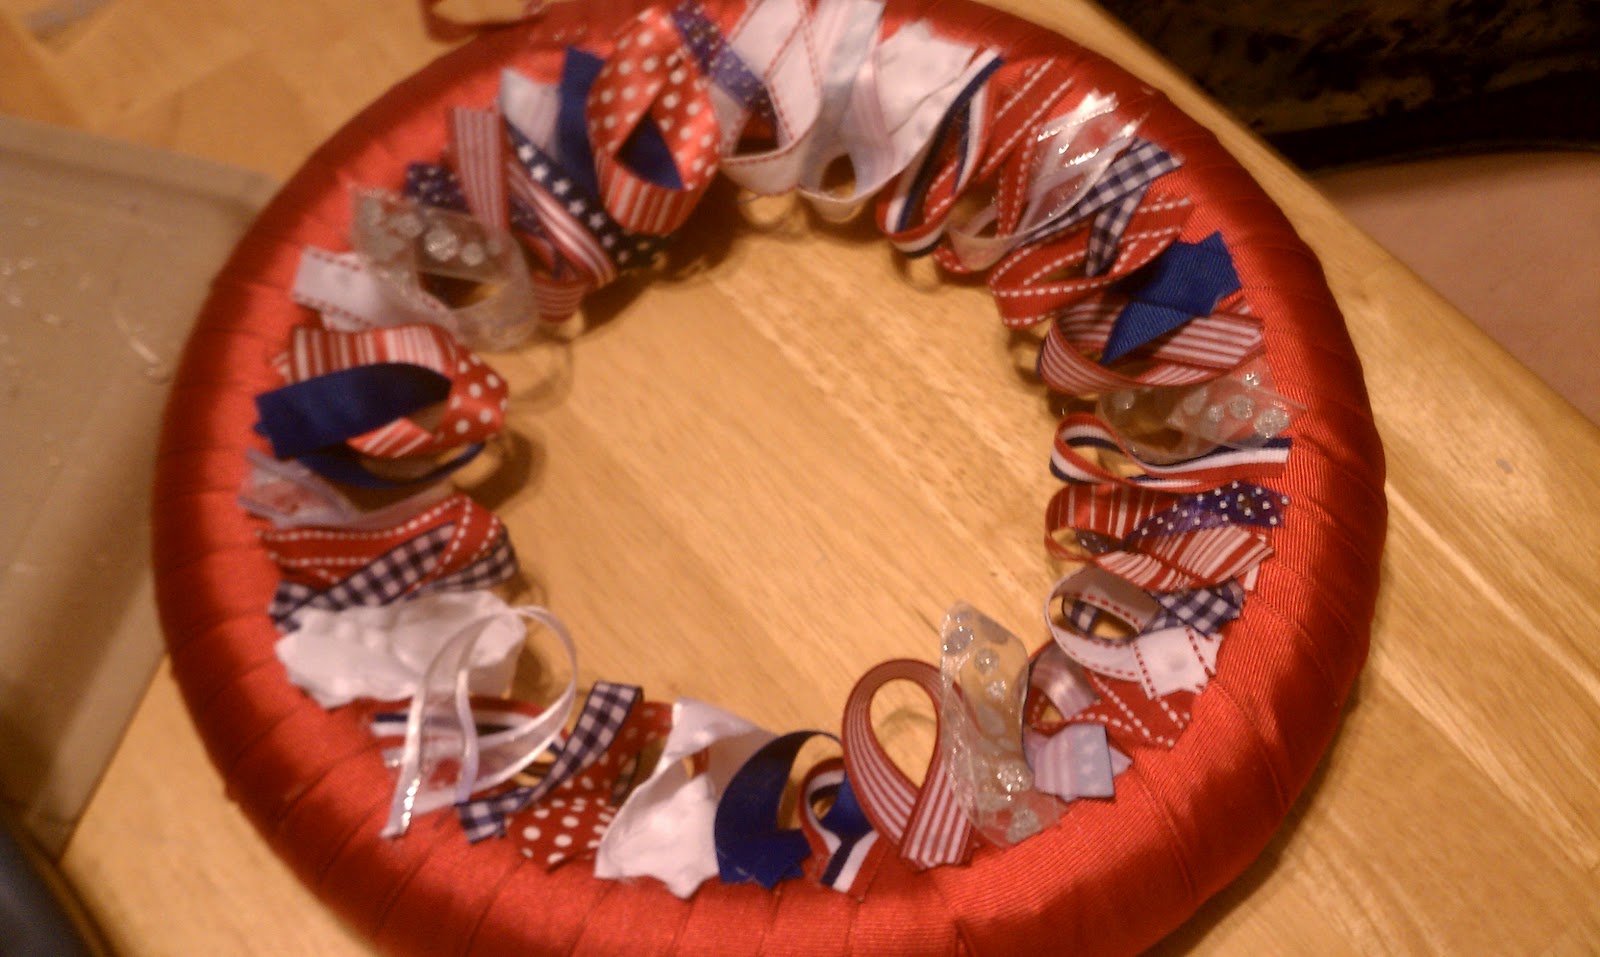
At this point, it was very late and I needed to get home, so we decided to skip ahead. Once you have your edges beribboned, start randomly gluing circular loops of ribbon, like the ones in the picture, to your wreath front. I would recommend picking one ribbon, like this blue polka dot ribbon, and gluing about 20 loops randomly over the front of your wreath, making sure to get close to the edges you made. Then, pick another ribbon, and randomly glue 20 of those loops on. Then another and another until you run out of ribbon. That ensures full coverage and a good random sprinkling of colors and designs. Then, if 20 of each of your ribbons wasn't enough, do five more of each, until your wreath is full.

Another detail Kathryn wanted to include in her wreath was interwoven ribbons. So as we went, we looped some ribbons in and around and through each other to create this effect.

Isn't it coming along nicely? This is as far as we got before I abandoned Kathryn to her own crafting devices and took J home so he could go to bed. She vowed to have it finished by the time she went to bed, and you know what? I believed she could do it.

So this morning, she shows up at church with this. I love it! I want one of my own! I can't wait to make one for my house in bright, summery colors. It's going to be awesome - I'll post pictures whenever I actually get around to it, I promise. In the meantime, make your own and send me a picture - I'd love to see what you can do!
A note about hot glue guns: I don't own one. I never have. I just don't really do many crafts that call for a hot glue gun, I guess. So when we were at the Orange Store looking at their expanse of glue gunnery, I just picked a mid-range model with a stand and a precision nozzle. I recalled glue guns as being very messy and winding up with great globs of glue where you only wanted a small dot, so this 'precision nozzle' seemed like a good thing. And it WAS. The only problem, and I think this is a design flaw inherent in all glue guns, is that one small squeeze of the trigger yielded three drops of glue. Each ribbon requires two drops of glue: one to attach the first end to the wreath and another to attach the second end to the first. Three drops is just impractical. We probably wasted a good stick or two of glue on this project in random drips and drops. Luckily, hot glue sticks aren't that expensive, or this would be a real problem, but I challenge someone out there to design a glue gun that doesn't extrude molten glue at the drop of a hat. If you could make a dripless glue gun, you'd be set for life.
Yall are amazing! I will keep looking for projects for the two of you to complete. :)
ReplyDelete